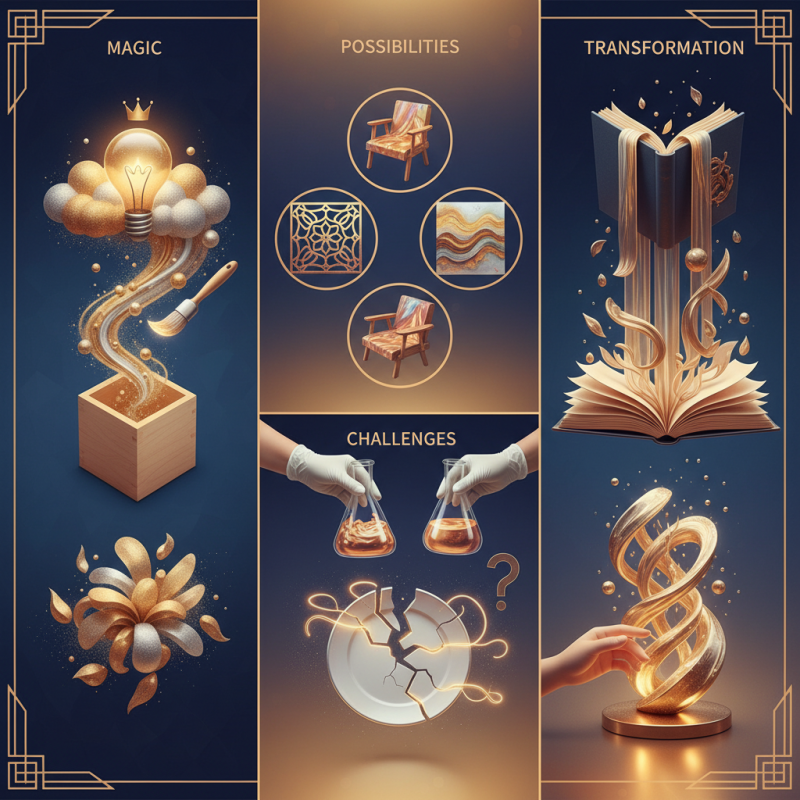
Have you ever considered the magic of Metallic Pigment in your DIY projects? According to renowned artist and metallic pigment expert Dr. Emily Hart, "Metallic pigment adds depth and dimension that transforms simple creations into stunning artworks." These shimmering powders can elevate any craft, making it more visually appealing.
Using metallic pigment opens up a world of possibilities. You can create eye-catching home decor, custom furniture, or even beautiful art pieces. The way light interacts with these pigments can create mesmerizing effects. Yet, it is essential to remember that achieving the desired outcome may take practice and experimentation. It’s easy to get lost in the process.
Embrace the beauty of metallic pigment, but be prepared to face challenges. The mixing ratios can be tricky, and achieving consistency is not always straightforward. Mistakes might happen, but they offer valuable lessons. Explore various techniques and find what works best for you. Dive in, let your creativity flow, and transform your projects into something truly unique.
Metallic pigments bring life to DIY projects. They can transform simple materials into vibrant, eye-catching pieces. Understanding their composition is crucial for effective use. Most metallic pigments consist of finely milled metallic particles. These can be made from aluminum, bronze, or copper. When combined with a binder, they adhere well to surfaces.
There are various types to choose from. Some are suitable for painting, while others work well in resin art. Pigments vary in particle size and shine. Larger particles create a more textured finish, while finer particles yield a smooth surface. It’s important to test different types to find what suits your project best. Sometimes, the chosen pigment may not blend as expected. Experimenting is key to achieving the desired look.
When working with metallic pigments, consider the application method. Mixing with mediums can alter the final effect. A thick consistency may lead to clumps, while too much dilution can cause fading. Observing these variables will refine your technique over time. Remember, each project presents unique challenges. Embrace the process of trial and error as you perfect your metal-infused creations.
| Property | Description | Types |
|---|---|---|
| Color Range | Available in various colors including gold, silver, bronze, and more. | Metallic, Pearl, Bronze, Gold |
| Common Applications | Used in painting, crafting, and cosmetic products. | Art Paints, Nail Polishes, Crafts |
| Application Method | Can be applied via brushes, sprays, or mixed into mediums. | Brush-on, Spray, Ink Mixing |
| Durability | Varies, generally resistant to fading but can scratch. | High, Medium, Low |
| Mixing Ratio | Varies depending on medium, usually 1:10 for intense color. | Standard, Professional |
Metallic pigments can transform your DIY projects from mundane to extraordinary. They add depth and shimmer, creating an eye-catching effect. Using these pigments can enhance any surface, from wood to fabric, making your creations stand out. The versatility of these pigments means you can incorporate them in various ways—paint, powders, or even as part of resin.
When using metallic pigments, preparation is key. Make sure surfaces are clean and smooth. This ensures a better finish. If you add too much pigment, the color may overpower the intended design. Start with small amounts and gradually increase. It’s easier to add than to remove excess. Choosing the right medium also matters. Mixing pigments with different bases can yield unique effects, but it takes practice to get it just right.
Try testing on scrap materials first. This helps you understand how the pigment behaves. Don’t be afraid to experiment, but remember that not every attempt will be successful. Some mixtures may not reflect the desired shine. Document your process to learn from mistakes. This reflection can lead to stunning results in your future projects.
Metallic pigments can transform any DIY project into a dazzling masterpiece. Applying them effectively requires careful steps. The right tools and techniques will significantly enhance your results. According to a recent industry report, over 70% of DIY enthusiasts see improved satisfaction when using metallic finishes.
Start by selecting the right surface. Metallic pigments perform better on smooth bases. Clean your chosen surface thoroughly, removing dust and grease. Use a primer suitable for metallics to ensure better adhesion. It’s crucial to mix the metallic pigments with a medium according to the instructions. For instance, a 1:1 ratio provides a balanced application without losing the pigment's brilliance.
When applying, use a brush or sponge for an even coat. Test your technique on a scrap piece first. Many find that practice makes perfect. Don’t rush; allow drying time as recommended. Overworking the pigments can result in a muted finish, which is often disappointing. Quality results may take time and effort, and that's part of the learning process.
When working with metallic pigments, common mistakes can hinder your project's outcome. One frequent error is neglecting the surface preparation. A clean and smooth surface is essential for the perfect finish. According to industry reports, improperly prepared surfaces lead to a 30% increase in flaws and inconsistencies. Dust, oil, or old paint can interfere with the adhesion of metallic pigments.
Another pitfall is overmixing your metallic pigments into the base medium. This can dull the sparkle and vibrancy you desire. A survey of DIY enthusiasts indicated that over 50% experienced a reduction in metallic luster due to excessive mixing. Instead, mix just enough until you achieve even distribution. This keeps the pigments' reflective properties intact.
Tips: Use a soft brush for applying metallic pigments evenly. This technique minimizes streaks and enhances shine. Also, test your mixture on a small area first. This will help you evaluate the final effect and avoid larger errors. Always remember, not every project will turn out perfect. Embrace imperfections, as they can add unique character to your work.
Mixing metallic pigments requires precision and care. The ratio of pigment to medium is crucial. Typically, a mixture of 1:4 or 1:5 works best. Too much pigment can lead to a clumpy texture. A detailed study from the Color Association of the United States indicates that improper mixing can reduce the vibrancy of metallic colors by up to 30%. Strive for balance.
Storing metallic pigments also demands attention. They should be kept in airtight containers to prevent moisture absorption. Exposure to air can lead to oxidation, dulling their shine. A report from the Materials Research Society emphasizes that pigments stored improperly lose about 15% of their effectiveness within a year. Consider labeling containers with dates to monitor their lifespan. It's easy to overlook this step, but it's essential for maintaining quality.
Remember that each pigment behaves differently. Testing small batches is wise. Sometimes, the desired effect does not translate as expected. Embrace these trials as part of the learning journey. A touch of experimentation can lead to surprising results. Maintaining a clean workspace is also vital. Residue from previous projects can contaminate new mixtures, altering their appearance. Keep your tools organized and your processes refined.