How to Choose an Automatic Arc Welding Machine
Choosing an Automatic Arc Welding Machine starts with the weld, not the product brochure. What metal will it join? How thick are the parts, and will the work happen in a shop or on site? These details shape the required process, current range, duty cycle, and power supply. Fit matters.
For example, a machine used on repeated production seams needs a different duty cycle from one used for occasional repairs. Check whether its output supports the electrode types and material thicknesses in your actual work. Confirm the input voltage, control range, cooling needs, and compatibility with existing fixtures. A listed maximum amperage alone tells little about sustained performance.
Welding engineer and author Sindo Kou has written extensively about the relationship between welding conditions and material behavior. In paraphrase, his work offers this practical reminder: “Process conditions shape weld quality.” That is not a substitute for a verified quotation, but it captures a relevant technical principle. The machine must produce stable, controllable arcs for the intended joint—not merely impressive specifications.
Before buying, compare test welds made on representative material. Look for consistent bead shape, manageable spatter, and dependable starts. Ask how service, parts, and operator training are handled. A lower purchase price can become costly if setup is difficult or downtime frequent. Even careful comparisons have limits: real results depend on operator skill, preparation, and maintenance. A shortlist helps, but hands-on trials often reveal what spec sheets miss.
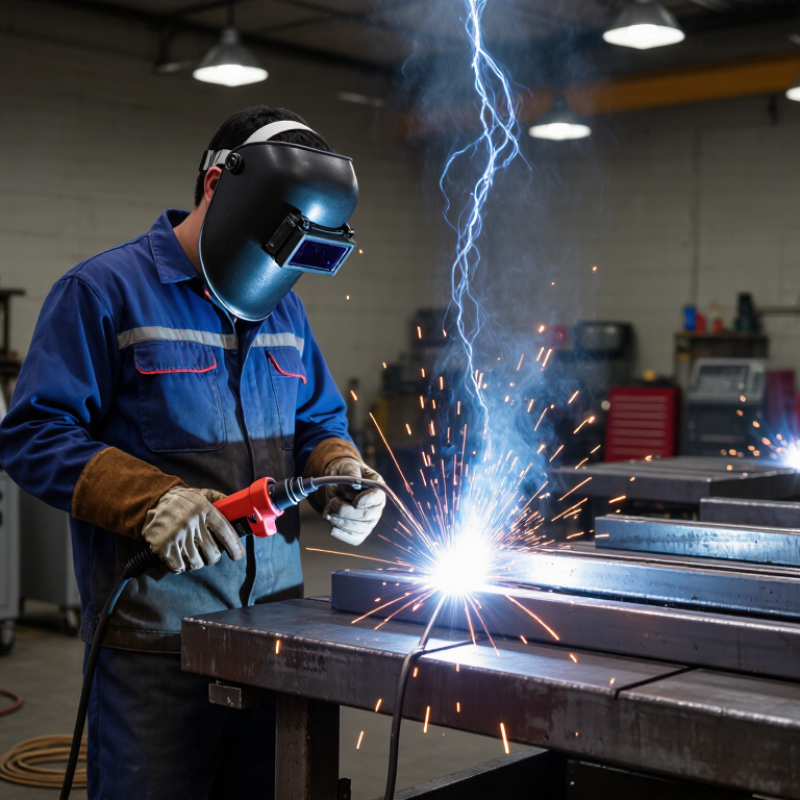
Identify the Welding Tasks and Materials the Machine Must Handle
Start by listing the actual welds: joint type, position, thickness, and daily production hours. A machine suited to short, flat fillet welds may struggle with long seams or out-of-position work. Specify whether the cell needs GMAW, FCAW, or another arc process, then check travel speed, torch access, fixture clearance, and duty cycle. The American Welding Society’s 2023 workforce outlook projected demand for 360,000 welding professionals by 2027. That pressure makes clear task definition useful when planning automation—not a reason to automate every weld.
Material choice changes the setup. Mild steel, stainless steel, and aluminum differ in heat response, wire requirements, and shielding-gas needs. Record the alloy, thickness range, joint preparation, and acceptable distortion before comparing machines. For example, a 2 mm stainless panel can warp under heat that works well on thicker plate. Confirm that the power source, wire feeder, torch, and fixtures can handle your full material range. A broad range on a specification sheet is not proof of stable production. Test representative parts.
Tips: Bring sample parts and the actual joint drawings to a machine trial. Check starts, stops, spatter, and access around clamps. Ask operators to review the result; their feedback can reveal a clearance issue that looks minor on paper. Recheck the plan after testing.
How to Choose an Automatic Arc Welding Machine
Identify the materials your welding tasks require. These reference melting points help illustrate how base metals differ; they do not determine machine capacity on their own.
Values are for pure elements. Welding alloys have different melting ranges. Before choosing a machine, also check the required process, material thickness, joint design, and welding position.
Compare Automatic Arc Welding Processes and Configurations
Automatic arc welding machines should be compared by process, joint shape, and production conditions. Submerged arc welding suits long, straight seams on thick plate. Granular flux covers the arc, helping produce high deposition rates and a stable weld. It is less convenient for short seams, awkward positions, or parts that need frequent repositioning.
Mechanized gas metal arc welding offers more flexibility for varied joints and thinner materials. It uses a shielding gas, so airflow near the torch can disturb weld protection. Flux-cored arc welding can provide strong penetration and high deposition, but slag removal may add work between passes. Process labels alone do not tell the whole story. Wire type, material thickness, and fit-up matter.
Machine configuration shapes how reliably the torch reaches the seam. A track-mounted carriage can follow long, accessible joints; a column-and-boom system offers controlled movement over larger workpieces. Positioners rotate parts, keeping many welds in a favorable position, but loading time and part balance need attention. Check torch access, travel speed, wire-feed control, and monitoring features against an actual sample joint. A common shop-floor mistake is choosing for maximum speed before checking how much time setup and cleanup will take. Small gaps can also disrupt an otherwise capable setup. I would test the machine on representative parts before committing.
Evaluate Power, Duty Cycle, and Control Specifications
Choosing an automatic arc welding machine starts with matching output power to the work, not simply buying the highest rating. Check the required process, material thickness, and electrode or wire range. A machine that struggles on a thick joint may produce an unstable arc and uneven penetration. For example, repeated passes on a heavy steel plate demand more sustained output than occasional tack welds on thin sheet. Confirm the input supply, too; available voltage and phase can limit usable power. Small detail, big consequences.
Duty cycle shows how long a machine can weld within a ten-minute period at a stated current. A 60 percent rating means six minutes of welding, followed by four minutes of cooling under the specified test conditions. Higher current often lowers the duty cycle. Compare ratings at the amperage your jobs actually require, and allow extra capacity for long seams or warm workshop conditions. Specifications are useful, but real ventilation and workload can change performance.
Control specifications matter for consistency. Look for clear adjustment of current, voltage, and wire-feed speed, plus stable arc-start and crater-fill settings where the process supports them. A readable display helps operators repeat settings between shifts. For automated lines, check whether the machine supports the required remote commands and feedback signals. Test the controls with the actual torch and workpiece if possible. A feature list can look impressive; awkward adjustments still slow production. We sometimes overvalue precision on paper. Ease of use deserves a practical trial.
Check Automation Features and Compatibility with Existing Equipment
An automatic arc welding machine should fit the way your shop works, not just offer an impressive feature list. Check whether it controls wire-feed speed, travel speed, arc start, and crater fill. For repeatable seams, look for a clear way to set and store welding schedules. Seam tracking or contact sensing can help when parts vary slightly, but these features need setup and routine checks. Keep manual adjustment available; automation cannot compensate for a fixture that shifts.
Tips: Before buying, compare the machine’s power requirements, wire and torch connections, control interfaces, and mounting options with your existing equipment. Ask for a sample weld using your material and joint design. Small details matter.
Also check whether the machine can communicate with your positioner or production controller, if you use one. Confirm that cables reach the work area and that existing fixtures allow the torch to approach the joint. Review maintenance access, too: a sensor hidden behind guards may be awkward to clean. It is easy to overrate advanced controls during a demonstration. A short trial on your actual parts often reveals setup problems that a showroom test misses. Some variation may remain, so plan how operators will inspect welds and respond when a cycle stops.
Assess Safety, Maintenance, Support, and Total Ownership Cost
When comparing automatic arc welding machines, inspect safety features in the actual work area, not just on a specification sheet. Check that guards, interlocks, and emergency stops are easy to reach and work as intended. Fume extraction and cable routing matter, too; a cable crossing a busy walkway can create a daily hazard. Ask for operating and maintenance instructions, then have qualified staff assess the setup against applicable requirements. Small details count.
Maintenance affects both safety and production. Look for accessible service points, clear fault indicators, and documented inspection intervals. Ask which parts need regular replacement, how long common service tasks take, and whether routine work requires specialized tools. A maintenance log can reveal recurring faults before they cause a longer stoppage. Still, published service intervals may not match your shifts, materials, or shop conditions. Treat them as a starting point.
Support and total ownership cost deserve equal attention. Confirm what training is included, how technical questions are handled, and whether essential replacement parts are readily available. Response time matters most when a machine is down mid-shift. Compare the purchase price with expected energy use, consumables, scheduled service, repairs, and downtime over several years. A cheaper machine may cost more to keep running. Estimates are imperfect, so use your own production data where possible. Also consider whether the machine can be serviced without disrupting nearby work.

